Add a network printer through Yast under openSUSE
Some day ago I got a brand new Xerox multifunction Wi-fi printer (B215 model for the record), so what’s the best chance to test the power and the ease of use of Yast to install it? This is also my first Wi-fi printer and I was very curious to see how user-friendly was the procedure, without knowing anything about the supported protocols.
Looking for the printer drivers
The Linux world provides a certain number of opensource drivers related to different printer models, in particular there are two relevant projects:
Unfortunately, none of them provides the driver for my printer so I had to look at the main website, and as expected from a serious manufacturer, found them.
The installation process is quite simple, once extracted the content in a folder there is an install.sh file to run with superuser privileges accepting all the requests:
$ sudo bash install.sh
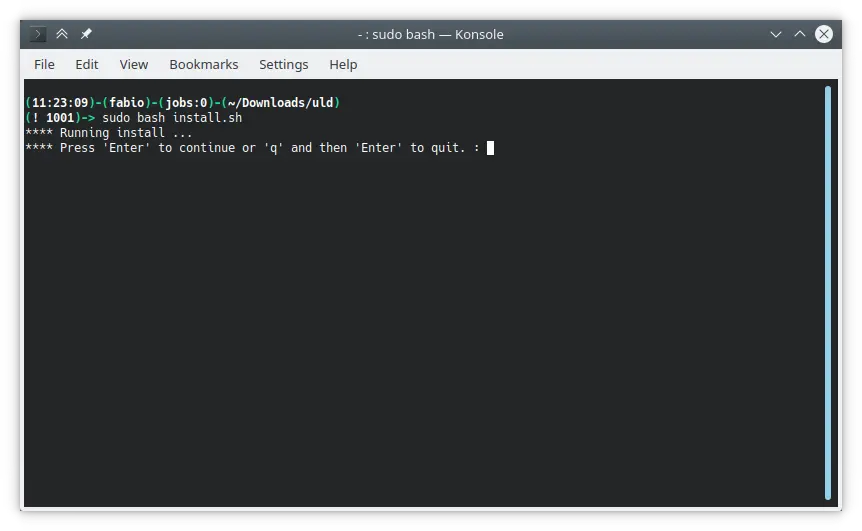
It provides the drivers for both the printer and the scanner.
Introducing CUPS
At this point it’s important to introduce CUPS: CUPS represents the printing system for Unix-like platforms, as the acronym says, and provides through a client/server architecture all the components required to handle a printing process:
- Printing job scheduling by a web interface which also allows to configure several parameters and get documentation too;
- conversion of the data file to a format recognized by the printer (Postscript) through a series of filters;
- communicate with the printer itself to perform the job through one of the protocols supported (USB, IPP, LPD, TCP/IP, …).
First of all we need the cups and cups-browsed services to be running:
$ sudo systemctl enable cups

$ sudo systemctl start cups-browsed
The cups service is always required for printing, that’s why it is enabled, the cups-browsed started instead is only involved in the printer discovery, so it’s just enough start it for the current session.
Now we are ready to start the yast2-printer applet:
$ kdesu yast2 printer
Narrow the printer discovery
To limit the range of the local IPs to ping, I consider good practice to set up some configuration under the Print via Network form.
In particular, I checked the Accept Printer Announcements from CUPS servers and selected the value Accept only from the specific addresses below in the select box, and specifying the address/network range in the underneath text box (192.168.0.0/255.255.255.0 in my case).
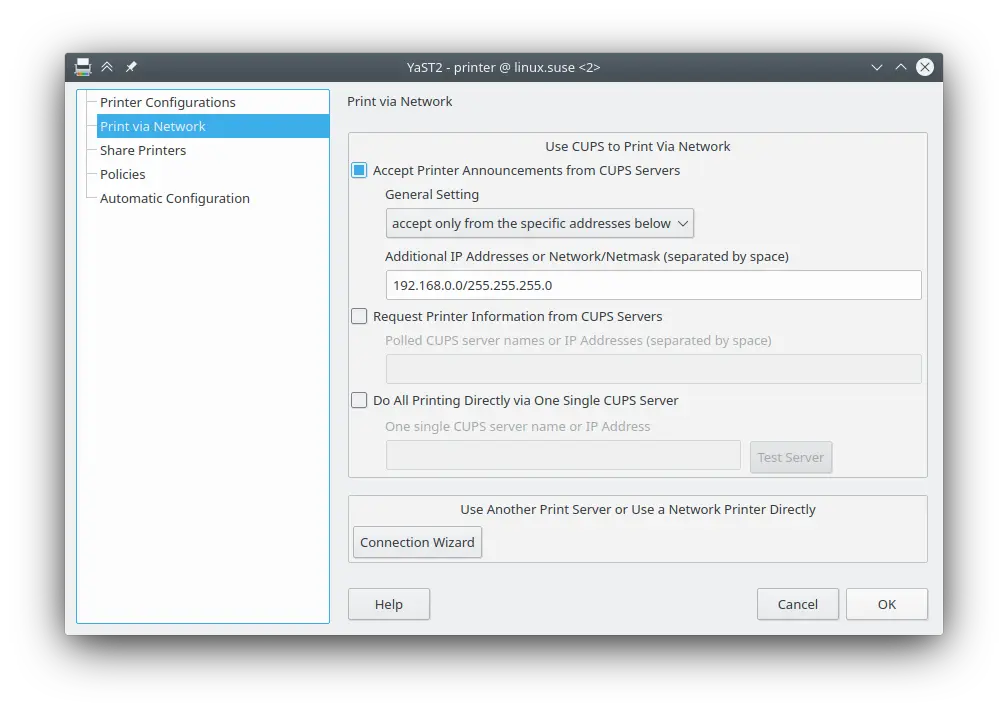
Let’s confirm the selection with the Ok button and restart the applet again.
Add the printer with Yast
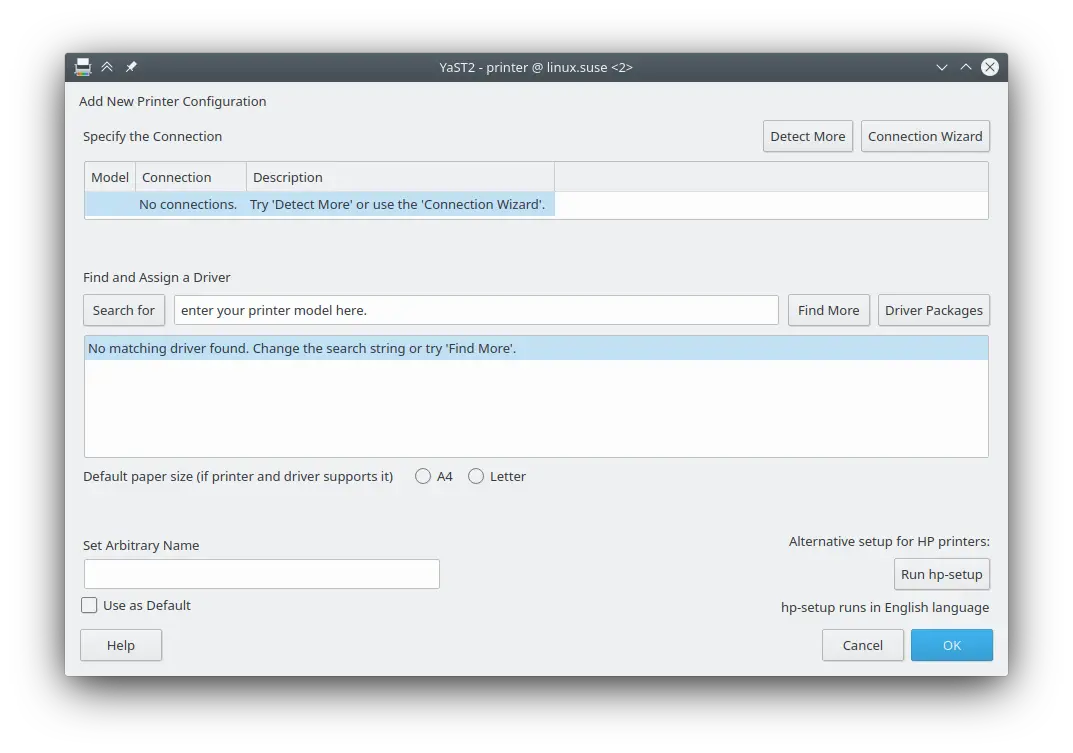
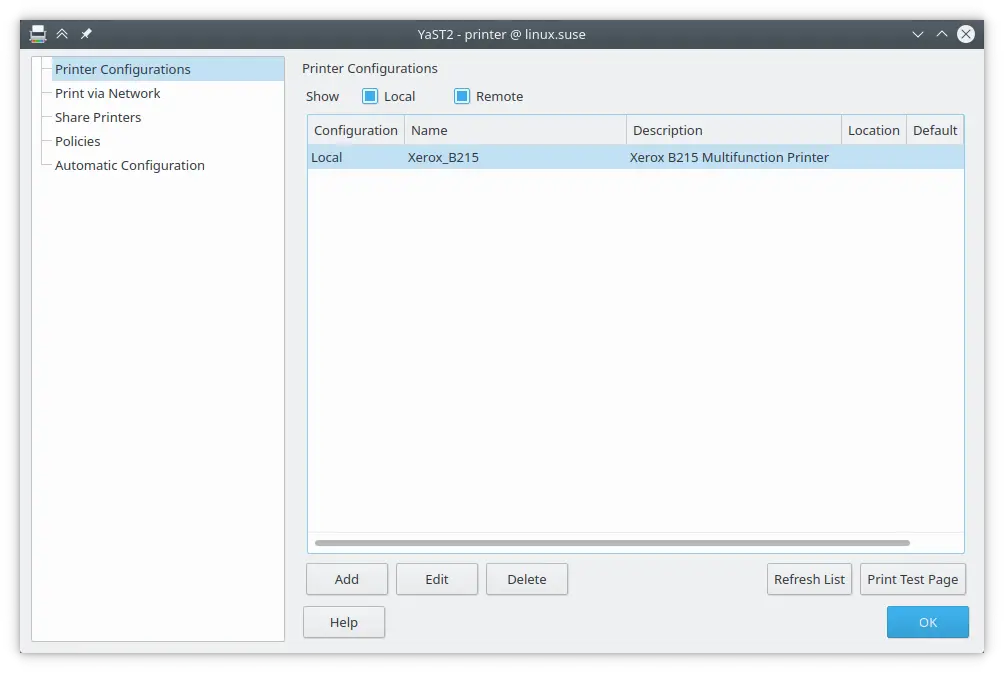
Back to the Printer Configuration form, we must simply click on the add button.

Probably the printer won’t be found at the first attempt, but we can still click on the Detect button on purpose.
Once the printer is discovered also the associated driver is automatically found, with a couple of clicks to choose the protocol and select the driver the job is done.

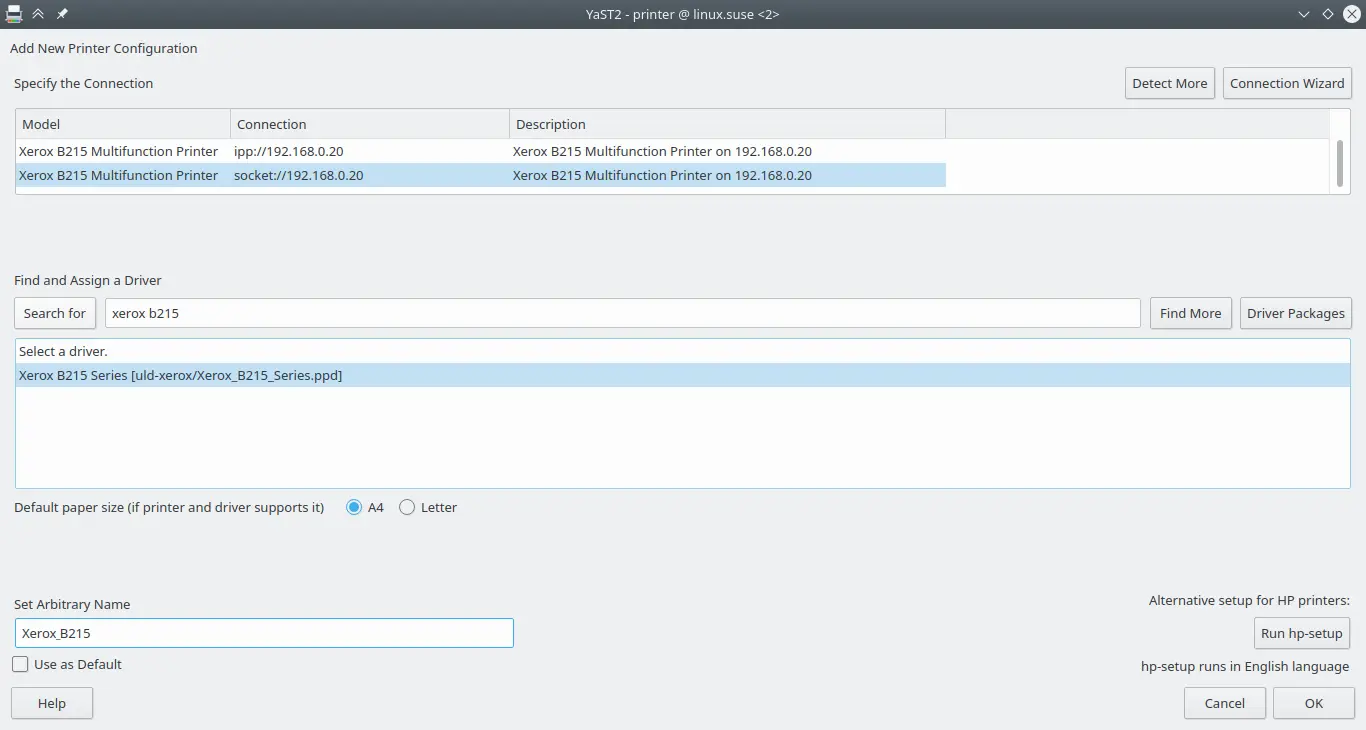
Among the protocols suggested I did choose the TCP/IP on IPV4, but also the other two work very well.
In the bottom text box I have also rewritten the printer name to something more clear to read, as the screenshots above show.
Confirming with the Ok button again is just enough.
Of course, a manual config is also available, the button Connection Wizard is there for that.
Manual installation
If things start becoming complicate with the self-discovery, just pushing the Connection Wizard button allows to enter a UI where specify all the few parameters required to make a network printer to be up and running in a couple of seconds:
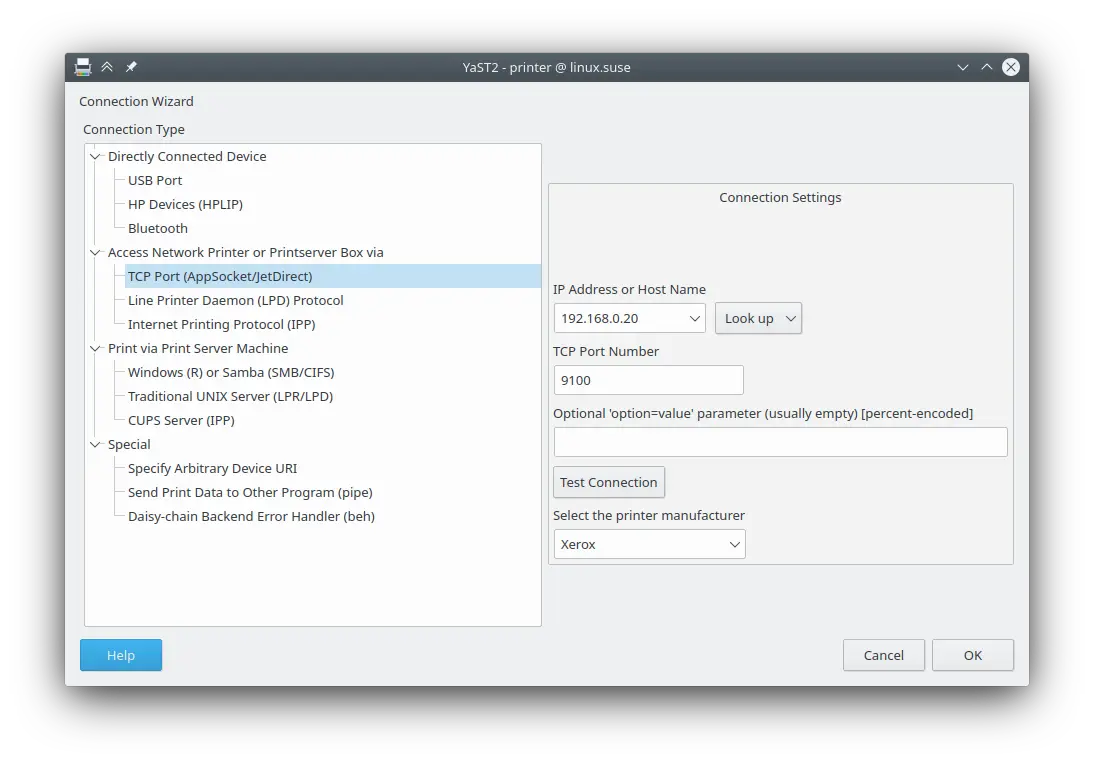
There is not much to say, selecting the proper protocol to Access the network printer we must fill up the IP address textbox, and in case you choose the TCP/IP protocol, most probably the standard port 9100 is good enough.
The Test connection button is really useful to understand whether or not the IP is correctly assigned, it only executes a ping command to the given address without waste paper with a printing test.
Two things to keep in mind are:
- be aware of the supported protocols, but usually TCP/IP and IPP are a must;
- it’s better to manually assign a static IP to the printer configuring the router’s NAT, which will save a lot of time later.
The network scanner
Installing the Xerox drivers resulted to be just enough to take advantage of the scanner provided by the same multifunction printer.
Indeed, an application like Skanlite, once started, recognizes the device automatically at its startup.
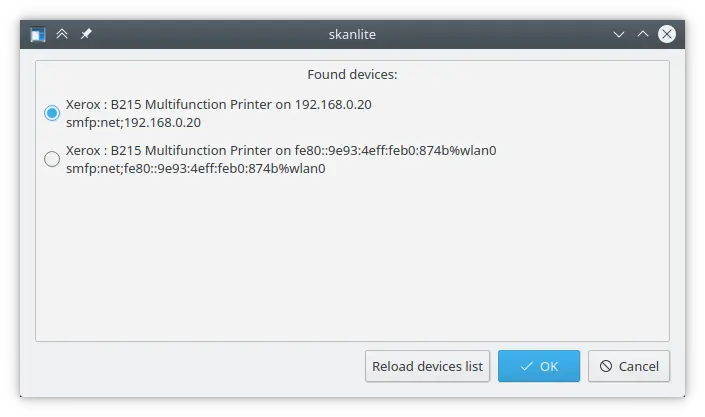
Just in case the printer is in sleep mode it has to be awakened using the Test connection button seen above or pushing the power button manually if it is close enough.
Final thoughts
Configuring a network printer through Yast has been really simple even in manual mode which, to be honest, has been the first procedure I tried.
Further, I also tried to accomplish the same task through the Systemsettings applet provided by KDE, but after some test involving the add, delete, and add procedures I had some trouble in completing the process.
Using Yast finally unblocked the automatic discovery again, so I guess that Yast implements way better the needed steps to create a full working configuration, and nonetheless the desktop system you are using, it will follow the best practices.
Last but not least I want suggest the great Printer Documentation page where more info also about the protocols and CLI printing applications are provided.
 This work is licensed under a Creative Commons Attribution-NoCommercial-ShareAlike 4.0 International License
Leave a Comment